Glamping promises a real bed, a proper roof and coffee at sunrise in the middle of nature — but every first-timer runs into the same question before they zip a single bag: what does the site actually provide, and what do you have to bring yourself? Get this wrong and you’re the person sleeping in a fleece jacket because the “luxury tent” had no heating, or hauling a pillow you never needed. Smart glamping trip packing starts with a short email to your host, not a shopping spree.
This checklist walks you through the whole process, step by step. We’ll cover how to confirm what your site includes before you pack, how to layer clothing for days that swing 10-15°C between noon and midnight, and what actually helps you sleep well under canvas. You’ll also find a food plan for a 2-3 night stay, off-grid essentials like headlamps and power banks, season-specific gear for May-September trips versus shoulder season, and a complete checklist to review at a glance before you leave home.
Before You Pack: Confirm What Your Glamping Site Provides
Every glamping packing mistake starts with an assumption. Travelers assume there will be bedding, assume there’s a fridge, assume the tent has lights — and then arrive to find a bare mattress or a pitch-dark path. Most established glamping sites do provide bedding and towels as standard, but budget options and smaller setups often don’t, so this is the first thing to confirm. A single email or a read through the site’s listing page usually answers everything.
Before you pack a single bag, send your host a short message or check the listing carefully. Ask about these four things:
- Bedding and towels: most sites include them, but budget tents and some safari-style setups list them as an add-on, so verify rather than assume.
- Electricity and heating: if there’s a wood stove or heater, you can pack lighter layers; if not, you’ll want warmer sleepwear and a battery lantern instead of relying on tent lights.
- Cooking facilities: a private BBQ, a shared camp kitchen, or nothing at all changes your entire food plan — ask which one you’re getting.
- Booking window: the best sites for May-September weekends typically sell out first, so book 3-6 months ahead if you have specific dates in mind.
Getting these answers early shapes every other decision on this list. A tent with electricity means you can leave the big power bank at home; a site with no kitchen means your cooler and camp stove kit become non-negotiable. Ten minutes of questions saves you an afternoon of improvising in a field.
Clothing: Layering for Days That Swing 10-15°C
Glamping days are deceptive. You might start in sunshine at 25°C, sit outside in a t-shirt all afternoon, and then shiver over dinner as the temperature falls 10-15°C below the daytime high. That swing catches out almost every first-timer, and it’s why layering — not packing one warm jacket — is the golden rule of glamping clothing.
Build your outfits around three layers that you can add or shed through the day:
- Moisture-wicking base layer: synthetic or merino t-shirts rather than cotton, which stays damp and cold once you sweat on a morning hike.
- Insulating mid-layer: a fleece or lightweight wool sweater that lives in your daypack and goes on the moment the sun drops.
- Waterproof shell: a packable rain jacket, because summer showers arrive fast and a soaked fleece takes all night to dry in a tent.
Even in the middle of summer, toss in a warm hat and a pair of thick socks. Evenings around a fire feel ten degrees colder than they look on the forecast, and cold feet are the fastest way to ruin a good night’s sleep. On your feet, bring sturdy closed-toe shoes or hiking boots for trails and uneven ground, plus a pair of sandals for lounging around the tent — you don’t want to lace up boots just to walk to the fire pit.
Finally, pack one presentable outfit. Many glamping sites have on-site restaurants, bars or evening social areas with a slightly dressier atmosphere, and you’ll be glad you brought something beyond hiking gear for a nice dinner. One clean shirt, one pair of presentable trousers — that’s all it takes.
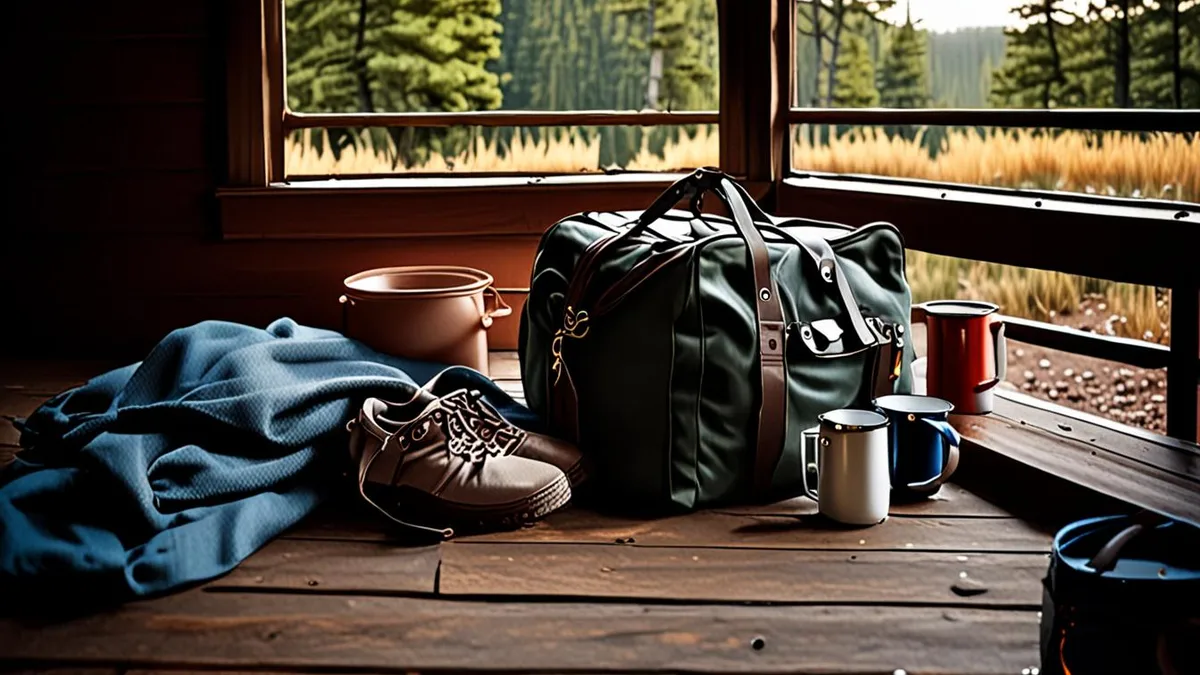
Sleep Comfort: What to Bring for a Good Night Under Canvas
Sleep is where glamping trips are won or lost. The bed might be genuinely comfortable, but canvas walls are thin, dawn light pours in early, and the sounds of the countryside — birds, wind, the neighboring tent’s zipper at 6 a.m. — are all much closer than they’d be in a hotel. A few small items in your bag make the difference between waking up refreshed and shuffling through the day on four hours of broken sleep.
These are the sleep comfort items experienced glampers never leave behind:
- Eye mask and earplugs: canvas blocks almost no light, and birdsong starts well before sunrise — this pair costs little and rescues more nights than anything else on this list.
- Slip-on footwear: dedicated slides or slip-ons left by the tent door for barefoot-unfriendly midnight walks to the bathroom block, where paths are dark and dew-covered.
- Your own pillow or pillowcase: even when bedding is provided, a familiar pillowcase (or a compressible travel pillow) helps picky sleepers settle in an unfamiliar bed.
- Thermal sleepwear: if you’re traveling in shoulder season, when nights can drop below 10°C (50°F), pack proper thermal base layers for sleeping rather than assuming the duvet will be enough.
One more tip: check what the bed situation actually is before you go. Some sites list a “real bed” that turns out to be a fold-out or a low air mattress, and knowing this in advance tells you whether to pack an extra sleeping bag liner or a foam topper. It’s a small question to ask, and a big comfort to secure.
Kitchen and Food Packing for a 2-3 Night Stay
Food is where glamping trips quietly go wrong. You are paying for a comfortable bed under canvas, but you still have to eat, and a supermarket run from a remote site can eat an hour of your evening. The fix is simple: plan every meal for your 2-3 night stay before you leave home, and do the prep in your own kitchen where the counter space and knife skills are better.
Marinate meats in freezer bags the night before so they go straight onto the grill. Chop all your vegetables at home and store them in containers. One-pot recipes like chili, curry, or a hearty pasta are ideal — fewer dishes, less cleanup, and they taste even better on the second day. Breakfast can be as easy as pre-mixed pancake batter in a bottle or overnight oats in jars.
If your tent has no fridge, a good cooler becomes your most important piece of kit. Pack it with ice packs rather than loose ice, which melts into everything, and keep it in the shadiest spot you can find. A smaller soft cooler bag is handy for day trips or ferrying items from the car.
Water deserves special attention. If the site lacks potable water, plan on 2-3 liters per person per day for drinking alone, and more in hot weather or if you are cooking with it. Bring large refillable jugs rather than a pile of small bottles.
- A sharp knife with a blade guard — camp kitchen knives are often dull or missing entirely, and a guard keeps your bag safe.
- A small cutting board — even a flexible plastic one saves you chopping on a picnic table.
- Foil and ziplock bags — foil wraps vegetables or fish for the grill; bags hold leftovers and marinated portions.
- Oil, salt, pepper and a few spices — decant into small containers instead of hauling full bottles.
- Coffee supplies — a portable pour-over, French press or instant coffee plus your preferred milk, because camp kitchens rarely provide any.
- Trash bags and a sponge with a small bottle of dish soap — waste bins may be far from your tent, and washing up is on you.
Toiletries, First Aid and Off-Grid Essentials
Glamping sites are comfortable, but they are still outdoors, and the little things that make camping bearable matter just as much here. Site lighting is usually dim by design, and the path from your tent to the bathroom block can be genuinely dark. A headlamp beats a handheld light because it leaves both hands free, and a small lantern on the tent table makes late evenings far easier.
If your site has shared or basic facilities, pack toiletries accordingly. Biodegradable soap and shampoo are kinder to the environment, especially near natural water sources, and a quick-dry towel is lighter and faster to handle than a regular one. A small hanging toiletry bag helps when the shower block has one wobbly hook and no shelf.
A compact first aid kit is non-negotiable, even on a short trip. Blisters from new trails, headaches, small cuts and insect bites are the four things that actually happen, so build your kit around them.
Outlets are limited at most sites, sometimes to a single socket in the main lodge, so a power bank of 10,000mAh or more keeps your phone alive for photos, maps and emergencies. If you are heading somewhere with weak signal, download offline maps before you leave — and bring printed ones as backup, since a dead battery or no signal can leave you with nothing.
- Spare batteries for your headlamp — cold nights drain them faster than you expect.
- Blister plasters and a small roll of tape — the most-used items in any kit after a day of walking.
- Painkillers and antiseptic wipes — individually wrapped wipes are easiest to pack and use.
- Insect repellent and afterbite cream — apply repellent before dusk, when bugs are most active.
- Sanitizer and toilet paper in a ziplock — some bathroom blocks run out or have none at all.
- A charging cable set — bring one for every device, because forgetting a cable at a remote site is a real problem.
Weather and Season: Packing for May-September vs Shoulder Season
What you pack depends heavily on when you go. Peak glamping season in most temperate regions runs from May to September, and summer trips call for a different kit than the cooler edges of the year. Remember that evenings can feel far chillier than the afternoon, so even a July trip needs warm layers once the sun goes down.
For a May-September trip, think sun and showers. A sun hat, sunscreen and swimwear cover the warm afternoons, while a light rain shell handles the sudden summer downpours that roll in without much warning. Breathable clothing works better than heavy cotton, which stays damp once it gets wet.
Shoulder-season trips in April or October are a different animal. Bring extra insulating layers, waterproof boots instead of sandals, and a hot water bottle to warm the bed before you climb in — mornings and evenings will feel more like camping than a hotel stay. It is much easier to add a layer than to wish you had one.
Whatever the season, moisture is the enemy of electronics and spare clothes. A dry bag or a handful of ziplocks keeps your phone, camera and backup socks dry in wet weather, and it costs almost nothing.
Finally, check the forecast 2-3 days before departure. A warm, dry window means you can drop the waterproof boots and add swimwear; a wet or cold front means swapping in extra layers. A five-minute forecast check saves you from packing for the wrong trip.
- After-sun lotion and lip balm with SPF — long sunny days dry skin out faster than you notice.
- A compact travel umbrella — useful for shoulder-season drizzle when a shell is too warm.
- Extra socks and a spare base layer in a ziplock — wet feet are the fastest way to ruin a cool evening.
- A thermos for hot drinks — shoulder-season mornings are far better with coffee you made earlier.
- Sunglasses — often forgotten, but essential on open sites with no shade.
Your Glamping Trip Packing Checklist at a Glance
Glamping promises a real bed in the wild, but the question every first-timer asks is the same: what does the site provide, and what do I actually need to bring? The answer starts with a quick message to your host. Confirm the amenities first — bedding, towels, kitchenware, power and cooking setup — and half your packing list writes itself.
From there, work through the essentials: layers for days that swing 10-15°C between afternoon and night, sleep comforts like an eye mask and earplugs, a simple meal plan for a 2-3 night stay, off-grid basics such as a headlamp and power bank, and season-specific gear depending on when you travel. Get that right, and even a $150-500 per night stay delivers the comfort glamping promises. If this checklist helped you, leave a comment or share it with someone planning their first trip under canvas.