Glamping in national parks sounds like the perfect trip: a real bed, a wood stove and star-filled skies just minutes from world-class trails. In practice, though, many travelers hit a wall of confusion. Rules differ between in-park lodges and private sites, entrance fees and timed-entry systems catch people off guard, and the best tents sell out months before summer even starts.
This guide breaks the process into clear, practical steps. You’ll learn how the three main types of glamping stays actually work, what you can and can’t do at park-adjacent sites, and when reservations open so you can book before the calendar fills. We’ll also help you pick the right season and park, set a realistic budget, and choose a location that maximizes your time on the trails instead of in the car. By the end, you’ll have a simple game plan for a glamping trip that delivers the views without the surprises.
How Glamping in National Parks Actually Works
Not all glamping near national parks works the same way, and knowing the differences will save you from booking the wrong kind of stay. There are three broad categories, each with its own rules, booking systems and trade-offs.
In-park concessioner stays
Inside park boundaries, lodging is run by authorized concessioners under contract with the National Park Service. These properties follow park rules, which can affect everything from campfires to check-in procedures. The upside is unbeatable: you sleep inside the park itself, often with early access to trails before day-trippers arrive. The downside is scarcity. In-park inventory is limited, books up to 12-13 months in advance, and disappears faster than anything else.
Private resorts and dispersed tent operators
Private glamping resorts sit on land just outside park boundaries. Because they’re independent businesses, they set their own policies on pets, campfires, quiet hours and check-in times, and they typically have far more availability than in-park lodges. The third category is dispersed luxury tent operators on nearby public or private land. These can feel wonderfully remote, with large sites, dark skies and few neighbors, though they may lack the amenities of a full resort.
The main trade-off with staying outside the gate is access. You won’t have in-park perks like shuttle stops at your door, and you’ll drive through an entrance line each morning. In exchange, you get more choice, more flexible cancellation policies and often lower prices. For most travelers, that balance is well worth it.
Access Rules and What You Can (and Can’t) Do at Park-Adjacent Sites
Glamping sites near national parks are private businesses, not park property. That means the rules that govern your stay come from the operator, not the park service, and they vary widely from one site to the next. Some welcome dogs in every tent, others charge pet fees or ban animals entirely. Fire policies differ too: a site with individual fire pits may still restrict them during dry stretches. Quiet hours and alcohol rules are just as inconsistent, so read the site’s policies before you pay rather than after you arrive.
Entrance fees and timed entry are separate
Your lodging cost never includes park admission. Entrance fees apply every time you drive in, and some parks require timed-entry reservations or shuttle use on top of that. Zion, Glacier and Arches, for example, have used timed-entry or shuttle systems during peak season to manage crowds. That affects when you can actually reach trailheads from your site, so check the park’s current requirements before your trip. Fees and permit rules change regularly, so confirm details on the park’s official site.
Timing matters as much as paperwork. If you’re flexible on dates, aiming for the best months for a glamping trip can mean fewer entry restrictions, shorter gate lines and easier trailhead access. Whenever you go, build extra time into your mornings for entry lines and permit checks so a slow gate doesn’t derail your first hike.
Booking Windows: When to Reserve Your Glamping Stay
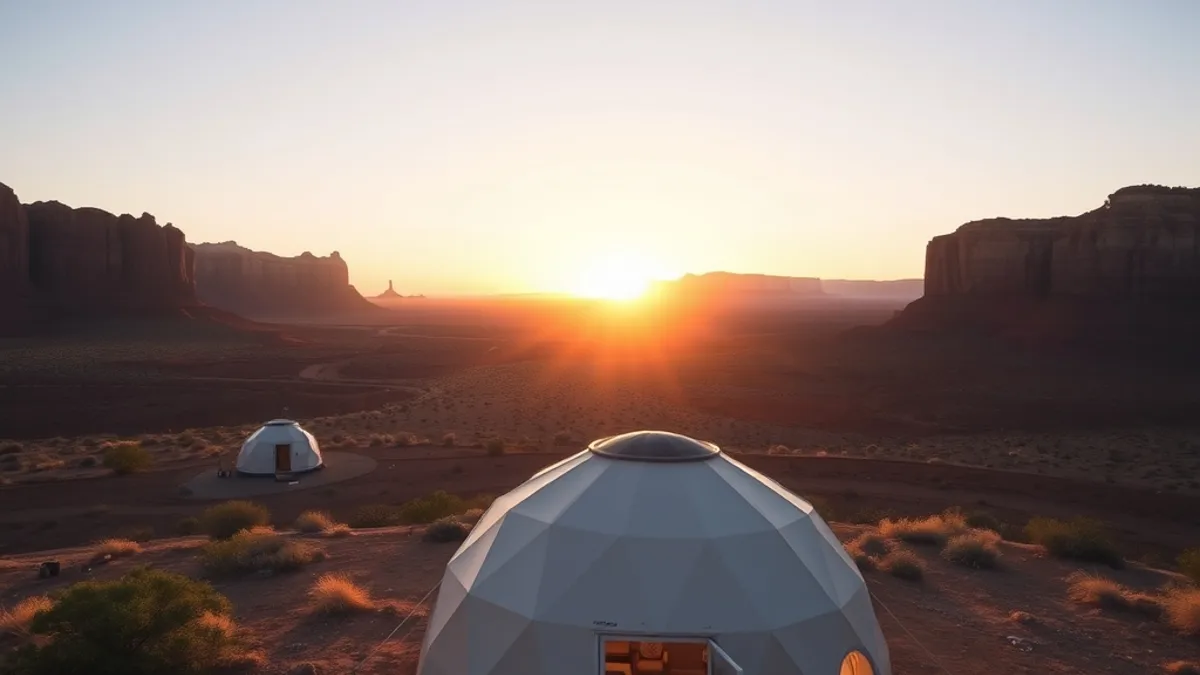
Booking a glamping stay near a national park is mostly a timing exercise. Inventory is limited, release dates are predictable, and the best sites vanish quickly, especially for summer weekends, which often sell out 3-6 months ahead. Work through these steps in order.
- Identify your target park and dates first. Decide which park you want and which weeks work for your schedule before looking at individual sites. Searching without dates leads to aimless browsing, and aimless browsing leads to missing release windows entirely.
- Find out when inventory is released. Most park lodgings and nearby glamping sites open reservations 6 months in advance, whether they list on Recreation.gov or a private booking platform. Check the operator’s booking page for the exact release date, since a few operators stagger their openings by site type or tent category.
- Set a calendar reminder for that date. Add an alert for the moment reservations open, not the week after. A reminder is what turns a plan into an actual booking.
- Book the instant inventory opens. Reserve the moment the calendar unlocks rather than browsing later to compare options. Prime tents at popular resorts can disappear within days, and the best weekend slots go first.
- Have a backup site ready. Know a second-choice property near the same entrance so that if your first pick is gone, you can book an alternative within minutes instead of restarting the search from scratch.
Follow this sequence and you’ll rarely be shut out. The travelers who miss out are almost always the ones who discovered the perfect site after its release date had already passed. If your dates are flexible, a midweek arrival also stretches your options considerably, since weekend inventory is the first to go and the hardest to recover once gone.
Choosing the Right Season and Park for Your Trip
Timing shapes almost everything about a glamping trip to a national park. June through August is peak season at mountain parks like Yellowstone and Glacier: the weather is at its best, but so are the crowds, and rates sit at the top of their range. If your dates are flexible, shifting even a few weeks can change both the price and the experience.
The shoulder months of April-May and September-October are the sweet spot for most travelers. Temperatures are cooler, availability is noticeably easier, and operators often charge less than during the summer rush. Trails are quieter too, which matters if you’d rather not share a viewpoint with a dozen tripods.
Desert parks work on the opposite calendar. At Joshua Tree and Death Valley, summer heat can make tent-based stays genuinely unsafe, so the comfortable and practical window runs from November through March. Winter is when these parks shine, with mild days and crisp nights that suit a heated tent or dome perfectly.
- In mountain parks, snow can linger on high-elevation trails into early spring, so a May trip may limit which trailheads are open even though lodging is easier to find.
- September often brings stable weather and thinner crowds after Labor Day, making it a favorite for photographers who want golden light without summer congestion.
- Death Valley’s cooler months are also its event season, when ranger-led programs and stargazing activities run more frequently than in the summer shutdown period.
- If you want fall colors, aim for late September to mid-October in parks like Glacier, when aspens and larches turn but nighttime temperatures can drop near freezing in a tent.
What Glamping Near a Park Costs
Glamping near major national parks typically runs $150-$500 per night, depending on the type of accommodation and how much comfort you want. At the lower end you’ll find canvas tents with shared facilities, while the top of the range gets you safari-style tents, domes or cabins with premium views, real beds, heating and en-suite bathrooms. Location plays a role too: sites closer to popular park entrances often charge more than those a longer drive out.
That sounds steep until you compare it with the $35-$60 you’d pay for a basic campsite inside the park. The difference is what you’re actually getting: a proper mattress instead of a sleeping pad, warmth on cold nights, a private bathroom instead of a shared washhouse, and someone else handling the setup. If you want a fuller breakdown of what each option includes, the comparison of glamping versus camping costs and comfort is worth a read before you book.
Watch for hidden extras
Sticker prices can be misleading. Many glamping operators require a two-night minimum stay on weekends, which effectively doubles the cost of a quick overnight trip. Holiday weekends often carry surcharges on top of the base rate, and some sites add cleaning fees or service charges at checkout. Always look at the total for your exact dates rather than the advertised nightly rate.
A practical trick: if your schedule is flexible, shifting a weekend stay to Friday-Sunday or adding a midweek night can sometimes lower the effective per-night cost. Check the operator’s policies directly, since minimum stays and fees vary by site and season.
Picking a Site Location That Maximizes Park Time
The fastest way to lose a full day of park time is to book a site based on straight-line distance instead of actual drive time. A glamping resort that looks “close” on a map can easily sit 15-45 minutes from the entrance gate, and that’s before you factor in the morning line at the booth. Add entry queues, a return trip in the evening, and a stop for gas or groceries, and you can quietly burn an hour or more of driving every single day.
Gate choice matters just as much as distance. Big parks have multiple entrances, and picking the wrong side can cost you hours. Yellowstone, for example, spans so much ground that driving from one end to the other takes hours, so a site near the west entrance puts you in a very different position than one near the north or east gates. Match your site to the entrance closest to the trails, geysers or viewpoints on your list. If you’re weighing several options, our guide on how to choose the right glamping site for your first trip walks through comparing locations in more detail.
Food is the detail most first-timers overlook. Many parks have limited dining inside the boundaries, and what does exist often closes by early evening. A site that offers early breakfast or packed lunches lets you hit the trail at dawn instead of driving back out to eat.
- Map your route at the time of day you’ll actually drive it: a 30-minute run at noon can double during peak morning entry lines in summer.
- Check whether the site sits near the entrance that stays open year-round or has the shortest queue history, since some gates back up far worse than others in the same park.
- Ask if the kitchen can accommodate early departures or dietary needs, not just whether breakfast exists, so a 6 a.m. start doesn’t mean skipping the meal entirely.
- Look for sites with a small camp store or grocery access nearby, since running out of the park for snacks defeats the whole purpose of a close location.
Your Glamping Game Plan, Summed Up
Glamping in a national park comes down to one clear choice: an in-park concessioner stay or a private site just outside the gate. Once you know which fits your style, the rest falls into place. Book 6-12 months ahead, aim for the shoulder seasons of April-May or September-October, and budget $150-$500 per night for a tent, dome or cabin.
Before you pay, do a quick reality check: verify the drive time to the entrance, confirm entry rules like timed-entry or shuttle systems, and read the site’s own policies on pets, fires and quiet hours. A few minutes of checking saves you surprises at the gate. If this helped you plan your trip, leave a comment or share the article with a fellow traveler.