Scroll through any booking platform and you’ll find a glamping site that costs $120 a night next to one that costs $500, a yurt in a forest beside a dome on a cliff, and no obvious way to tell which one is right for you. First-time glampers often freeze at this point, worried about overpaying for a tent or booking something too rustic for their comfort level.
This guide breaks the decision into simple, practical steps. We’ll walk through which accommodation type suits beginners, how to pick a location and setting, when to travel for the best weather and prices, how to read reviews and listings with a critical eye, how to set a realistic budget, and the practical checks to make before you pay. By the end, you’ll be able to compare any two sites side by side and book your first trip with confidence.
What Kind of Glamping Accommodation Suits You?
If you’ve never slept outdoors before, the accommodation type matters more than anything else on the listing. Safari tents and yurts are the classic beginner choice for good reason: they come with a real bed, a solid floor and enough space to stand up and move around. Prices usually fall between $100 and $250 per night, which keeps your first trip affordable while you figure out whether glamping is for you.
Geodesic domes and treehouses are the showstoppers of the glamping world. They photograph beautifully and feel genuinely memorable, but that wow factor comes at a price: expect $300 to $600 or more per night. If that’s within budget and the experience matters to you, they can be worth it, but they’re not necessary for a successful first trip.
Comfort checks before you book
Whatever type you choose, ask two specific questions. First, does the unit have heating or cooling? Shoulder-season nights in April and October can drop below 10°C (50°F), and a canvas tent without a heater makes for a miserable night even if the days are pleasant. Second, confirm whether the bathroom is private. Some budget tent sites still rely on shared facilities a short walk away, which surprises many first-time glampers. If stepping outside at midnight in your pajamas doesn’t appeal to you, filter listings for units with an en-suite bathroom and read the amenities list carefully rather than assuming.
Picking the Right Location and Setting
For your first glamping trip, keep it simple: choose a site within a 2-3 hour drive from home. A short drive means you can arrive early, leave if something goes wrong, and skip the stress of airports, rentals and unfamiliar roads. Save the far-flung destinations for trip number two, once you know what you like about glamping.
Next, decide which setting you actually want. Lakeside sites offer swimming and paddling, forest sites give you shade and trails, vineyards pair your stay with wine tasting, and mountain settings deliver big views but more weather exposure. Each setting shapes what you’ll do all weekend, so pick the one that matches how you want to spend your days.
Then look at what’s genuinely nearby, not what the listing implies. Check for trailheads, swimming spots or a small town within 15-30 minutes of the site. You’ll want somewhere to buy forgotten supplies, grab a meal or escape to if the weather turns.
- Site size: smaller sites with 5-20 units feel far quieter than resort-style glamping villages; with fewer neighbors, you’re more likely to hear birdsong instead of other guests’ music.
- Cell coverage: remote settings often mean weak signal, so download offline maps before you leave home.
- Road access: some forest and mountain sites sit down gravel roads; if you drive a low-clearance car, confirm the route is suitable.
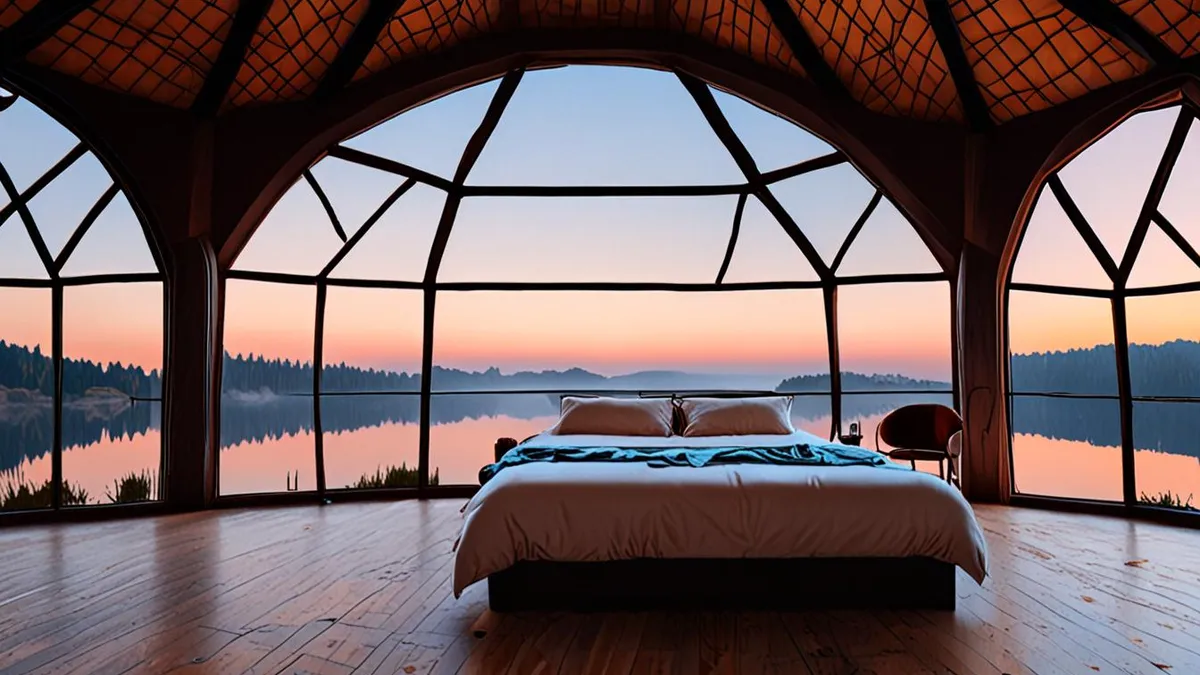
Choosing the Best Season for Your Glamping Trip
Timing shapes both your comfort and your costs. Peak season in most temperate regions runs from May to September, when the weather is most reliable, days are long and every activity on site is open. The trade-off is straightforward: you’ll pay the highest prices of the year, and popular sites fill up fast.
If you’d rather save money and share the site with fewer people, look at the shoulder months of April and October. Rates in these months often run 20-40% below peak prices, and the quieter atmosphere suits a first trip nicely. Just pack warm layers, since nights can be genuinely cold outside of summer.
Booking windows and off-season risks
Small glamping sites have limited inventory, so popular summer weekends sell out 3-6 months in advance. If you have your heart set on a July or August weekend at a specific site, don’t wait until June to book. Midweek summer dates and shoulder-season weekends are usually easier to secure closer to your travel date.
One caution for beginners: avoid making your first trip in the deep off-season unless the unit is fully winterized. An unheated tent in freezing conditions isn’t glamping, it’s an endurance test. If a winter stay appeals to you, message the host directly and confirm the unit has proper insulation, heating and winter-ready water before you commit.
How to Read Glamping Site Reviews and Listings
Reviews are your best defense against a disappointing first glamping trip. Photos can flatter, but recent guest reviews tell you how a site actually performs week to week. Pay special attention to comments posted within the last few months, since management, upkeep and even the surrounding area can change between seasons.
Three themes matter more than anything else on a first trip. Cleanliness tells you how seriously the host maintains tents and shared spaces. Noise comments reveal whether you will actually hear owls at night or a neighboring party. And comparisons between photos and reality flag listings that look far better online than on the ground.
One trap catches many first-timers: booking based on the site’s hero photos. Many glamping sites operate several different units, and the best-looking one is not necessarily the one you will get. Before paying, scan the full photo gallery and confirm which specific unit your booking covers, then read reviews for that unit type if possible.
- Amenities list: Check exactly what is included, such as kitchen or kitchenette access, Wi-Fi, a private fire pit, and whether bedding and towels are provided or you need to bring your own.
- Minimum stay rules: Many sites require two-night stays on weekends during high season, so a one-night test trip may not be possible until quieter dates.
- Reviewer profiles: Give more weight to detailed reviews from guests with several trips behind them than to short, vague five-star ratings with no comments.
- Host responses: See how the owner replies to negative reviews; a thoughtful, practical answer is a good sign of how problems are handled on site.
Setting a Realistic Glamping Budget
Glamping prices vary more than most first-timers expect. Basic safari tents and simple yurts sit at the entry level, while luxury domes and treehouses with panoramic views, hot tubs or full kitchens command a serious premium. Check the fact sheet section for the exact ranges before you set a budget.
The listed nightly rate is rarely the whole story. Many sites add extras on top of the base price, and these can quietly add a meaningful amount to your total.
Watch for the extras
Common add-ons include firewood bundles, on-site activities like kayaking or guided walks, and cleaning fees charged per stay rather than per night. Some sites also charge per person beyond a base occupancy of two guests. Before booking, scroll to the full price breakdown and calculate what you will actually pay for your dates, not just the headline rate.
Timing is your best lever for getting more for the same money. Shoulder-season dates in April or October often cost noticeably less than peak summer weekends, which means the same budget can stretch toward a higher-end dome or treehouse you could not justify in July.
Finally, compare what each price includes. A pricier unit with breakfast, cooking equipment and kayaks included may cost less overall than a basic tent plus paid meals and rented gear. Judge the per-night price against the full package, and you will make a far better choice than by comparing rates alone.
Booking Your Glamping Site: Timing and Practical Checks
Booking a glamping site is straightforward once you know the rhythm of the market. Small properties often have fewer units than a single floor of a standard hotel, so inventory is genuinely limited and the most desirable units for peak dates disappear quickly. A few practical checks before you pay will save you from most first-trip surprises and make the whole experience feel far less like a gamble.
- Book early for summer dates. Most glamping sites open their calendar 6-12 months ahead, and the best units for popular May-September weekends are often gone long before casual browsers start looking. If you have a specific summer weekend in mind, reserve as soon as your dates are firm rather than waiting for a price drop that may never come.
- Message the host before paying. Ask about access roads, especially if you drive a low-clearance car, and confirm where you will park relative to your unit. Some sites require a short walk with your bags, which matters if you are carrying coolers and camping gear. Also confirm check-in and check-out times so you can plan your drive realistically.
- Read the cancellation policy carefully. Flexible options matter more for a first trip, since you may discover the accommodation type or setting is not for you. Understand the deadline for a refund and whether weather is a valid reason to rebook.
- Confirm the rules for your party. If you are bringing a dog, young children or a larger group, ask directly about pet policies, age limits and maximum occupancy. Some sites welcome families and pets; others are adults-only or restrict animals to certain units.
Once these checks are done, you can book with confidence. A short message exchange with the host usually settles every open question, and you will arrive knowing exactly what to expect at the end of the road.
Your First Glamping Trip, Simplified
Your first glamping trip doesn’t need to feel overwhelming. The trick is to narrow things down step by step: pick an accommodation type that matches your comfort level, whether that’s a simple tent or a luxury dome, and choose a setting you actually want to wake up in. Then keep the travel side easy by staying close enough to home that the drive itself never becomes the hard part of the weekend.
Timing matters too. Aim for the May to September peak season if you want the most reliable weather, or choose April and October if you’d rather save money and share the site with fewer people. Book 3-6 months ahead for popular summer weekends, and verify amenities, bathroom access and minimum stay rules with the host before you pay. Do that, and your first night under canvas should feel like a treat rather than a gamble. If this helped you plan, leave a comment or share the article with a friend.