You booked a beautiful glamping stay, and the photos promise a cozy bed under the stars. Then evening arrives, and reality sets in: you can’t find the light switch, the temperature drops faster than expected, and dinner is a granola bar eaten in the dark. The first night is where most glamping trips go sideways in small, avoidable ways.
These first night glamping tips will help you settle in smoothly instead of fumbling around after sunset. We’ll cover when to arrive so you have daylight to spare, a simple routine for unpacking and setting up, how to dress and sleep through the overnight temperature drop, and the most common beginner mistakes to skip. We’ll also set realistic expectations about what glamping actually offers, and share ways to make that first evening genuinely enjoyable. Follow along and you’ll start your trip relaxed, warm, and ready for the nights ahead.
Arrive Before Dark: Timing Your First Evening
The single best thing you can do for your first glamping night is arrive with daylight to spare. Aim to get there 2-3 hours before sunset. That buffer gives you time to find your unit, figure out the parking situation, and locate the facilities without a flashlight in your teeth. Everything that takes five minutes in daylight — finding the door latch, working the combination lock, spotting the path to the bathhouse — takes three times as long in the dark.
Check your check-in window
Before you leave home, confirm when you can actually check in. Most glamping sites require arrival during a set window, typically between 3 and 5 pm, and some are strict about it. If you show up an hour early, you may find the unit still being cleaned; arrive too late and you might have to figure out self check-in instructions by phone light. A quick message or a re-read of your confirmation email solves both problems.
Once you’ve dropped your bags, use the last hour of light to walk the grounds. Locate the bathrooms, the water source, and the fire pit. Note the distance from your unit so a midnight trip doesn’t turn into a surprise trek. This small walk pays off all evening — you’ll know exactly where everything is before the dark arrives.
First Night Glamping Tips: Your Settle-In Routine
A settle-in routine sounds overly organized for a vacation, but your first evening goes much smoother when you unpack with a plan. Give yourself 30-60 minutes, work in a sensible order, and you’ll be sitting by the fire while other guests are still hunting for their headlamps. If you’re unsure what to bring in the first place, a solid glamping packing checklist will keep you on track before you ever leave home.
Before you start hauling bags inside, take two minutes to survey the unit. Find the outlets, locate the light switches, and check whether the door latches properly from the inside. A quick walk-around now saves you from discovering a broken latch or a missing bulb once darkness settles in. It also helps you decide where things should live, so you’re not reshuffling gear at bedtime.
- Bedding first. Make the bed the moment you walk in. Even if linens are provided, fluffing pillows and spreading the duvet now means a ready retreat later, and it gets the biggest task out of the way while you still have energy. Shake out any blankets that smell musty from storage and crack a window if the air inside feels stale.
- Food and water second. Put away snacks in sealed containers, set out what you need for dinner, and fill your water bottles. Finding out at 9 pm that the water spigot is a five-minute walk away is no fun, especially with a flashlight that’s already fading.
- Lighting last — but test it now. Turn on every lantern, headlamp, and string light while you can still see. Dead batteries are far easier to fix at 5 pm than at midnight, so swap them on the spot if anything is dim.
- Charge your devices. Plug in phones and power banks while daylight lasts, especially if your unit runs on limited solar power. In these setups, an outlet left idle all afternoon may not have enough juice left by evening.
- Set up your fire or wood stove before dark. Lay the kindling, position the logs, and confirm the damper or flue works. Starting a fire by feel in the cold is the classic first-night stumble, and it’s entirely avoidable with ten minutes of daylight prep.
Thirty to sixty focused minutes covers all of this in most units, from a simple safari tent to a well-equipped cabin. The order matters more than the speed: bed, food, light, power, fire. Once it’s done, the rest of your evening is genuinely yours — no chores, no fumbling, just the good part of glamping. Pour a drink, pull up a chair, and let the routine pay for itself.
Dressing and Sleeping for the Temperature Drop
The most common surprise for first-time glampers is how cold the night gets. Even in summer, nighttime temperatures can drop 10-15°F below the daytime high, and canvas walls insulate differently than the hotel rooms you’re used to. Pack layers and warm socks no matter what the forecast says — you can always shed a fleece, but you can’t conjure one at 10 pm.
Let the swing be your packing guide
A useful rule of thumb: most glamping destinations see a roughly 20°F swing between day and night. Plan for the warm half with light, breathable clothes for hiking and lounging, and for the cool half with a fleece, a beanie, and warm socks for the evening. If you want a deeper look at how conditions shift through the year, this month-by-month guide to glamping seasons in the US is a helpful reference before you book.
Sleeping comfort deserves its own thought. If your unit has extra blankets in a chest, find them during daylight, not at bedtime. A hot water bottle or a pair of dry socks kept by the bed makes a chilly 3 am far more pleasant.
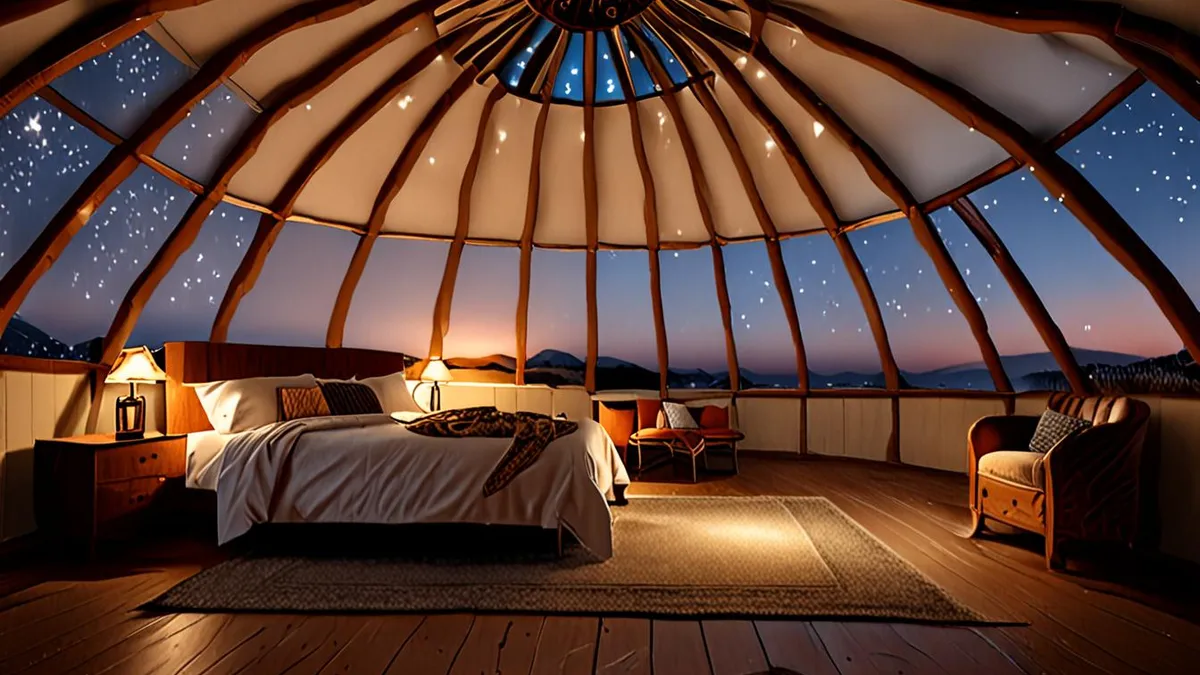
One last tip for sealed units: domes and yurts can get stuffy and collect condensation overnight. Crack a window or vent before you sleep. A little fresh airflow keeps the canvas dry, the air comfortable, and your morning view fog-free instead of dripping.
Common First-Night Mistakes to Avoid
Most first-night problems come from one of three habits: packing too much, planning nothing for dinner, or treating the tent like your kitchen counter. The good news is that all three are easy to fix before you leave home.
Overpacking is the most common. Unlike a basic campsite, a glamping unit usually comes with bedding, towels and core furniture, so half of what you crammed into the trunk may already be waiting for you. Before you load the car, read the amenity list on the booking page and cross off anything it covers. If you’re unsure what a given site typically provides, a quick look at how glamping compares to traditional camping on comfort and gear will help you pack to the right level.
Dinner is the second trap. Cooking gear at glamping sites ranges from a full kitchen to a single camp stove or nothing at all, so don’t assume you’ll whip up a meal on-site. Bring something easy you can eat cold or heat in one pan, or book a table at a restaurant within a short drive. You’ll be tired after the drive and the settling-in routine, and a planned meal keeps that first evening pleasant instead of hungry.
Finally, never leave food, snacks, toiletries or scented items out overnight. Raccoons, mice and bears follow their noses at every kind of site, from state park platforms to upscale safari tents. Use the storage bin or lockbox provided, or keep food sealed in your car.
- Repackage food before you go. Move snacks into hard-sided containers or a cooler with a latch, since crinkly bags are what animals hear first.
- Toiletries count as scented items. Toothpaste, lotion and lip balm belong with your food storage, not on the bedside table, especially in bear country.
- Ask about site rules at check-in. Many properties have specific requirements for food storage or firewood, and staff can point out which picnic tables or bins are wildlife-safe.
Managing Expectations: What Glamping Is and Isn’t
Glamping gives you a real bed, solid walls or canvas, and usually some form of heat or lighting. What it doesn’t give you is a bubble. You’re still sleeping outdoors, which means bugs may find their way in, owls and wind will make noise at 2 am, and the path to the bathroom may be dirt, grass or gravel. None of this ruins the experience if you expect it — it only feels like a letdown if you arrived thinking you booked a hotel room in the woods.
Know what your price point usually includes
At mid-range sites, which often run in the $100-250 per night range in shoulder season, shared bathhouses are the norm. You’ll walk a short distance to a clean but communal shower and toilet block, which many travelers find perfectly fine once they adjust. Private bathrooms attached to your unit generally push you into premium pricing, so if a flush toilet and hot shower steps from your bed matter to you, filter and book accordingly rather than hoping for an upgrade on arrival.
Read the description like a contract
Phrases like “rustic luxury” or “boutique camping” cover a huge range. One site’s rustic luxury means a wood stove, electricity and a proper mattress; another’s means a canvas tent on a platform with sleeping bags and a lantern. Before booking, scan the listing for the specifics: heating source, power supply, water access and bathroom type. If the description is vague, message the host and ask directly. Ten minutes of clarification beats a cold surprise on night one, and it helps you pack for what’s actually there instead of what you imagined.
Making the Most of Your First Evening
Your first evening sets the tone for the whole trip, and the biggest mistake is trying to do too much. You’ve driven, checked in, unpacked and figured out how the wood stove works — that’s enough for one day. Pick a single simple pleasure and let the rest of the night unfold on its own.
That pleasure might be a slow fire with a drink in hand, lying back to watch stars come out, or a short walk to catch the sunset from a nearby overlook. One is plenty. Over-scheduling night one turns a relaxing arrival into a checklist, and you’ll enjoy the second and third days more if the first evening stays unhurried.
Before you climb into bed, do a quick mental inventory. If something is missing — a corkscrew, extra blanket, phone charger — jot it down tonight. Hosts can often drop off items the next morning, and small towns usually have a general store, but nobody wants to drive back for a forgotten item at checkout when it’s too late to matter.
- Stage a headlamp at the bedside. Phone flashlights work in a pinch, but a headlamp keeps both hands free for finding shoes, door latches and the path to the bathhouse at midnight.
- Prep the fire area before you relax. If a campfire is your evening plan, set out kindling and logs while you still have light, so you’re not rummaging in a wood bin by flashlight.
- Learn the light switches and stove controls now. Ask at check-in or test them during your settle-in hour, since fumbling with an unfamiliar propane valve in the dark is a frustrating way to end the day.
Wrap-Up: A Calm, Comfortable First Night
Your first night of glamping doesn’t have to be the fumbling, frustrating experience many beginners have. The fix is simple: arrive 2-3 hours before sunset, follow a straightforward unpack routine, and give yourself time to settle in while you can still see what you’re doing. Dress for a nighttime drop of 10-15°F, pack layers instead of extras, and skip the classic mistakes — overpacking, arriving without dinner plans, and leaving food out overnight.
Just as important, set modest expectations. Glamping gives you a real bed and solid shelter, but it’s still the outdoors, and that’s the point. If you keep your first evening simple and unhurried, you’ll start your trip relaxed instead of rattled. Have a first-night tip of your own, or a story about a bumpy arrival? Share it in the comments or pass this article along to a fellow traveler.